

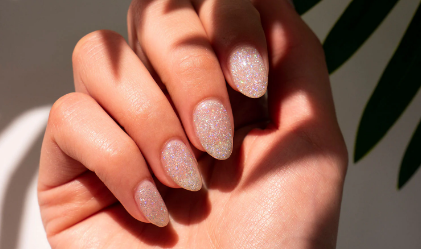
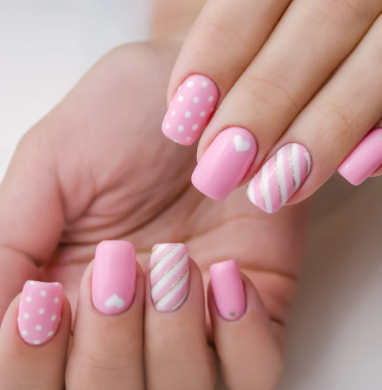
What is a Dip Powder Manicure?
A dip manicure, also known as an SNS manicure or an SNS powder manicure, is a style of manicure that uses a colored powder to color the nails instead of lacquer or varnish. The powder usually comprises acrylic polymers, and when combined with a particular dip powder top coat, it results in a hard, glossy, chip-resistant manicure.
When done correctly, dip nails are nearly indistinguishable from any other style of manicure, with effects lasting up to four weeks with careful care. A dip manicure, like gels, may be done at a salon or at home, however doing it yourself may need some understanding.
What Are the Benefits of Dip Nails?
The main advantage of dip nails is their durability: As previously stated, a dip powder manicure can last up to four weeks without chipping or splitting. (Gels, on the other hand, usually last about two weeks, whereas acrylics need to be filled every two weeks to avoid lifting and peeling).
Some say that using dip powder on natural nails is less destructive than gels or acrylics. This is because, once dried, the dip powder becomes hard and rigid. As a result, the nails are less likely to bend or break if they grab on something.
It’s also an excellent choice for individuals who prefer DIY manicures. Though there may be a learning curve, as previously stated, the process is rapid and largely mess-free once you get the hang of it. Furthermore, dip nails require extremely little drying time—and you don’t need to place your hands under a UV or LED lamp to cure the lacquer, as you would with a traditional gel manicure. And, much like regular polishes, there are various colors (and finishes) to pick from, allowing you to tailor your manicure to your preferences.
How Are Dip Manicures Different from Other Types of Manicures?
Though the finished product appears to be the same as any other sort of professional manicure, dip powder nails differ significantly from other types of manicures.
Dip vs. Gel Nails
If you enjoy manicures, you are definitely familiar with gel nails. This trendy manicure consists of coating the nails with a liquid gel lacquer and curing each layer under a UV or LED light. Gel manicures can be done at a salon or at home (if you have a UV lamp), and they usually last two to three weeks with proper care. In contrast, dip manicures include dipping the nails in a colored powder. There is no curing involved, and your manicure will typically last longer than gels—up to four weeks.
Dip vs. Acrylic Nails
Dip powder contains acrylic polymers, although it differs from regular acrylic nails in several ways. To begin, acrylics are commonly referred to as nail enhancements because the technique usually adds length to your natural nail. Dip powder nails can be applied over nail extensions, but it is not required; you can apply dip powder to natural nails for color without adding length. In terms of wear, both acrylic and dip nails produce long-term effects. However, acrylics must be filled every two weeks to avoid lifting and peeling. Dip nails, on the other hand, do not require filling; instead, as your nails begin to grow out, you may remove the polish and redo your manicure.

How Does the Nail Dipping Process Look Like?
As previously said, a dip powder manicure can be performed at a salon or at home. In both cases, the application process is the same. Here’s a step-by-step explanation of the procedure.
Step 1: Prepare.
A dip powder manicure, like any other, requires adequate preparation. Begin by trimming your nails if necessary and filing them to the appropriate shape. A professional will usually buff the nails and use a primer or rubbing alcohol to eliminate any oils that could interfere with the dip powder. If you want, you can also clip your cuticles now.
Step 2: Apply the base coat.
Next, apply the base coat included in your dip powder nail kit to your first nail. Make sure not to get any of the liquid on your cuticles or skin; if you do, the dip nail powder will stick to them.
Step 3: Dip nails.
The next step is fingernail dipping, which will give color to your nails. While your base coat is still wet, quickly dip your fingernail in the dip powder to cover the entire nail. The layer of powder should be thin and uniform. If necessary, softly dust your nails with a fluffy makeup brush to remove any excess powder. Leaving too much powder on the nail can give it a thick appearance, which is probably not what you’re looking for.
Step 4: Repeat.
Follow steps two and three for each nail until all ten fingernails are “painted.” Then, re-dip each nail to achieve a more opaque finish. The normal procedure is to apply two to three layers of base coat and dip powder. Remember to remove any extra powder between each dip.
Step 5: Apply activator.
Brush a dip powder activator over each of your nails to help harden the powder, being sure to completely coat your nails but not your skin. Allow this to sit for a few minutes to ensure full drying.
Step 6: File.
Dip nails rarely look totally smooth after using the activator. That’s where the filing comes in. You can use a standard nail file or an electronic tool to sand down your manicure in any areas where the powder and activator are too thick. This phase can take some practice to get things even, so set realistic expectations if you’re doing it yourself.
Keep in mind that if you file enough to go all the way through the activator, you will need to apply another layer.
Step 7: Finish with a top coat.
Once you’ve finished filing your nails, apply your top coat for a glossy, long-lasting finish. Typically, you should wait around two minutes after applying this top coat to touch your nails or wash your hands.
Keep in mind that the directions may differ slightly based on the dip powder kit you are using. If you’re doing your manicure yourself, make sure to read the directions carefully before beginning to achieve the greatest results.